
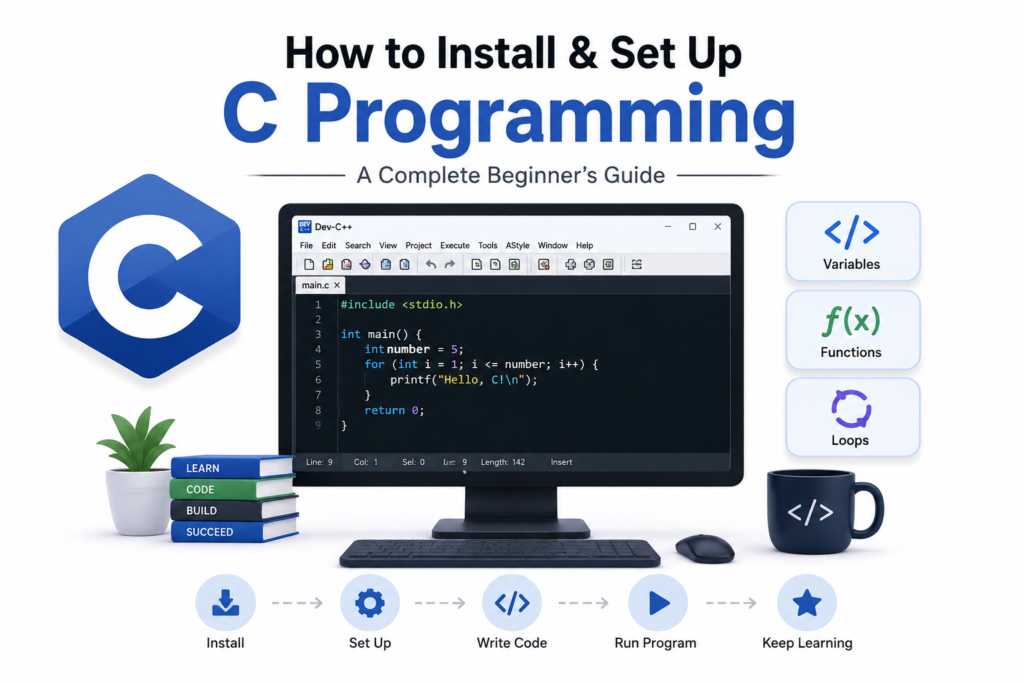
Install c programming and you take the first real step toward understanding how computers actually work beneath the surface. C is not just another programming language sitting in a long list of options. It is the language that built the modern software world, the tool Dennis Ritchie used at Bell Labs to rewrite the UNIX operating system and create a foundation that billions of programs still stand on today. Before you can write your first line of C, before you can experience the satisfaction of watching your own compiled program run on real hardware, you need to set up your environment correctly. This guide walks you through every step on every major platform, clearly, completely, and without leaving out the details that actually matter.
Why Setting Up Your C Environment Correctly Matters
Many beginners underestimate how important the setup phase is. Install c programming incorrectly or incompletely and you will spend hours debugging mysterious errors that have nothing to do with your code. Get the setup right from the start and everything that follows, writing, compiling, debugging, and running programs, becomes smooth and enjoyable.
The core component you need is a C compiler, a program that transforms the human-readable source code you write in a .c file into an executable binary that your computer’s processor can actually run. The most widely used C compiler in the world is GCC, the GNU Compiler Collection. On macOS, Apple provides Clang as the default compiler, which is fully compatible with GCC syntax. On Windows, you have several options including MinGW, which brings GCC to Windows, the MSVC compiler from Microsoft, or Clang for Windows.
Beyond the compiler, you need a text editor or an integrated development environment (IDE). Visual Studio Code is the most popular choice today because it is free, lightweight, cross-platform, and has excellent extensions for C development. Code::Blocks is another strong option, particularly for beginners who prefer a traditional IDE with everything integrated in one application.
How to Install C Programming on Windows
Windows does not come with a C compiler pre-installed, which means you need to add one. The most straightforward path for beginners is MinGW, which stands for Minimalist GNU for Windows. It brings the GCC compiler to the Windows platform and integrates with most popular editors.
Start by downloading the MinGW installation manager. Go to the official MinGW website or use the MSYS2 project, which provides a more modern and regularly updated version of the toolchain. MSYS2 is the recommended approach in 2026 because it includes a package manager that keeps your tools updated.
After downloading and running the MSYS2 installer, open the MSYS2 terminal and run the following command to install the GCC compiler and essential build tools:
bash:
pacman -S mingw-w64-ucrt-x86_64-gccOnce installation completes, you need to add the compiler to your system’s PATH variable so that Windows can find it from any terminal window. Open System Properties, navigate to Environment Variables, find the PATH variable under System Variables, and add the path to your MinGW bin directory, which will be something like C:\msys64\ucrt64\bin.
After setting the PATH, open a new Command Prompt or PowerShell window and verify the installation by typing:
bash:
gcc --versionIf GCC responds with its version number, your compiler is installed correctly. If Windows says the command is not recognized, double-check that the PATH entry is exact and that you opened a new terminal window after making the change.
Setting Up Visual Studio Code for C on Windows
With GCC installed, you are ready to configure Visual Studio Code, the preferred editor for most modern C development. Download VS Code from the official Microsoft website and install it with default settings.
Open VS Code and navigate to the Extensions panel on the left sidebar. Search for the C/C++ extension published by Microsoft and install it. This extension provides syntax highlighting, IntelliSense code completion, and debugging support for C programs.
Create a new folder for your C projects, open it in VS Code using File then Open Folder, and create a new file called hello.c. Type the following into the file:
c:
#include <stdio.h>

int main(void) {
    printf("Hello, World!\n");
    return 0;
}
To compile this file, open the integrated terminal in VS Code using the Terminal menu and type:
bash:
gcc hello.c -o helloThen run your compiled program with:
bash:
./helloYou should see Hello, World! printed in the terminal. You have just install c programming successfully on Windows and compiled your first program.
How to Install C Programming on macOS
macOS users have a smoother path because Apple provides developer tools that include the Clang compiler, which is fully compatible with standard C code. To install c programming on macOS, open the Terminal application and run the following command:
bash:
xcode-select --installA dialog box will appear asking if you want to install the Command Line Tools package. Click Install and wait for the process to complete. This single command installs Clang, the GDB debugger tools, Make, and other essential development utilities.
Once installation completes, verify it by checking the compiler version:
bash
clang --versionYou should see output indicating the version of Clang that Apple has installed. For most C development purposes, Clang on macOS behaves identically to GCC, and you can use the same gcc command to invoke it because Apple maps the gcc command to Clang automatically.
If you prefer GCC specifically, you can install it through Homebrew, the popular macOS package manager. First install Homebrew if you do not already have it:
bash:
/bin/bash -c "$(curl -fsSL https://raw.githubusercontent.com/Homebrew/install/HEAD/install.sh)"Then install GCC:
bash:
brew install gccHomebrew installs GCC with a versioned command name such as gcc-13 or gcc-14 to avoid conflicting with Apple’s Clang alias. You can use this versioned command directly or create an alias in your shell configuration file.
Setting Up VS Code for C on macOS
With your compiler ready, setting up Visual Studio Code on macOS follows the same pattern as Windows. Download VS Code from the official website, install the C/C++ extension from Microsoft, and open your project folder.
Create a hello.c file with the same Hello World code shown earlier. Open the integrated terminal and compile:
bash:
clang hello.c -o helloRun it with:
bash:
./helloFor a more polished development experience on macOS, configure VS Code to handle compilation automatically by creating a .vscode folder in your project directory containing a tasks.json file that defines your build command. This allows you to compile with a keyboard shortcut rather than typing the compiler command every time.
How to Install C Programming on Linux
Linux is the most natural environment for C development because the GCC compiler is often available by default or just one command away. To install c programming on Ubuntu or Debian-based distributions, open a terminal and run:
bash:
sudo apt update
sudo apt install build-essential
The build-essential package installs GCC, G++, Make, and other tools you need for C development in a single command. It is the fastest path to a fully functional C development environment on Linux.
On Fedora or Red Hat based distributions, use:
bash:
sudo dnf install gcc makeOn Arch Linux, use:
bash:
sudo pacman -S base-develAfter installation on any Linux distribution, verify with:
bash:
gcc --versionLinux users also have excellent choices for editors beyond VS Code. Vim and Neovim with appropriate plugins, Emacs, CLion from JetBrains, and the Qt Creator IDE are all popular among Linux C developers. For beginners, VS Code with the C/C++ extension provides the most approachable experience regardless of which Linux distribution you use.
Compiling and Running C Programs From the Command Line
Understanding how to compile C code from the command line is essential even if you use an IDE for daily work. The command line compilation process reveals exactly what the toolchain is doing, which makes troubleshooting errors dramatically easier.
The basic GCC compilation command takes this form:
bash:
gcc source_file.c -o output_nameThe -o flag specifies the name of the output executable. Without it, GCC creates a file named a.out on Linux and macOS, or a.exe on Windows.
For more informative compilation, always use warning flags:
bash:
gcc -Wall -Wextra -o hello hello.cThe -Wall flag enables all standard warnings. -Wextra enables additional warnings. Together they catch the most common beginner mistakes before your program ever runs.
When your project grows to multiple source files, compile them all together:
bash:
gcc -Wall -Wextra -o myprogram main.c utils.c math_helpers.cFor debugging purposes, compile with the -g flag to include debug symbols that the GDB debugger can use:
bash:
gcc -g -o hello hello.cUnderstanding the Compilation Process
Install c programming properly means understanding what happens when you run the gcc command, not just memorizing the command itself. C compilation happens in four stages that GCC handles automatically but that you should know about.
The preprocessor runs first, processing all lines that begin with #, expanding macros, including header files, and stripping comments. The compiler then translates the preprocessed C code into assembly language specific to your processor architecture. The assembler converts the assembly code into machine code stored in object files. Finally, the linker combines your object files with library code to produce the final executable.
You can see each stage explicitly:
bash:
gcc -E hello.c -o hello.i    # Preprocessor only
gcc -S hello.i -o hello.s    # Compile to assembly
gcc -c hello.s -o hello.o    # Assemble to object file
gcc hello.o -o hello         # Link to executable
Most of the time you let GCC handle all four stages automatically, but understanding them helps enormously when compilation errors appear, because error messages often indicate which stage failed and why.
Choosing the Right IDE for Your C Journey
The choice of development environment matters more than beginners often realize. The right environment makes writing, compiling, and debugging C code feel natural and productive. The wrong one creates friction that discourages learning.
Visual Studio Code is the top recommendation for 2026. It is free, runs on all platforms, starts quickly, and the C/C++ extension from Microsoft provides excellent support including IntelliSense, which shows you function signatures and documentation as you type. The integrated terminal means you can write code and compile without ever leaving the editor.
Code::Blocks is an excellent alternative, particularly if you want everything configured automatically in one installation. The Code::Blocks installer for Windows includes a bundled version of MinGW, which means you install c programming environment and get the compiler in a single download without manually configuring PATH variables.
CLion from JetBrains is the most powerful IDE for professional C development, offering deep code analysis, built-in CMake support, and exceptional debugging tools. It requires a paid subscription after a trial period, but students can access it free through the JetBrains educational program.
For experienced developers on Linux or macOS who prefer staying in the terminal, Vim or Neovim configured with the clangd language server provides an incredibly efficient development experience once the initial learning curve is conquered.
Common Installation Errors and How to Fix Them
Even with clear instructions, installation errors happen. Knowing the most common ones saves significant frustration when you install c programming for the first time.
The most frequent error on Windows is the “gcc is not recognized as an internal or external command” message. This always means the PATH variable is not set correctly. Open a new terminal window after editing PATH, and make sure you copied the exact directory path where gcc.exe is located.
On macOS, if xcode-select reports that the tools are already installed but clang does not work, try running:
bash:
sudo xcode-select --resetThis resets the developer tools path to its default location and usually resolves the issue.
On Linux, permission errors during apt install are solved by ensuring you included sudo at the beginning of the command. If the gcc package cannot be found, run sudo apt update first to refresh your package list.
If your Hello World program compiles but shows a “permission denied” error when you try to run it, the executable may not have execute permissions. Fix this with:
bash:
chmod +x hello
./hello
Your First Real C Program After Installation
Once your environment is working, go beyond Hello World immediately. Write a program that actually does something interesting to prove to yourself that your toolchain is fully functional:
c:
#include <stdio.h>

int main(void) {
    int numbers[] = {15, 42, 8, 93, 27, 61};
    int length = sizeof(numbers) / sizeof(numbers[0]);
    int max = numbers[0];
    int min = numbers[0];
    int sum = 0;

    for (int i = 0; i < length; i++) {
        if (numbers[i] > max) max = numbers[i];
        if (numbers[i] < min) min = numbers[i];
        sum += numbers[i];
    }

    printf("Numbers analyzed: %d\n", length);
    printf("Maximum value: %d\n", max);
    printf("Minimum value: %d\n", min);
    printf("Sum: %d\n", sum);
    printf("Average: %.2f\n", (double)sum / length);
    return 0;
}
This program uses arrays, loops, conditionals, and type casting, covering several fundamental C concepts in a practical context. Compile and run it the same way you ran Hello World. Seeing real output from real code you wrote is one of the most motivating experiences in a programmer’s early journey.
Where to Go After You Install C Programming
Successfully completing your install c programming setup is just the beginning of a deeply rewarding journey. The language has remarkable depth, and the concepts you will encounter next build directly on the foundation you have just established.
Understanding the C programming legacy gives you crucial context for why C is designed the way it is and why the decisions Ritchie made at Bell Labs still influence programming language design today. That context transforms C from a collection of rules into a coherent philosophy.
For newcomers who want a structured learning path after getting set up, C programming for beginners covers the essential concepts in the right order, from variables and data types through functions, arrays, and the pointer system that makes C uniquely powerful and uniquely challenging.
When you are ready to understand what makes C both powerful and demanding at a deeper level, C pointers explained covers one of the most important and most misunderstood features in any programming language. Pointers are the mechanism through which C gives you direct access to memory, and mastering them is the defining milestone in every C programmer’s development.
As you grow more capable, C syntax basics provides a thorough foundation in the language’s grammar and structure, while C memory management reveals how to use malloc, free, and the heap effectively without introducing the memory leaks that plague poorly written C programs.
Eventually, you will want to understand how C compares to its most direct successor. The comparison of C vs C++ reveals exactly what Bjarne Stroustrup added to Ritchie’s foundation and why that addition was powerful enough to create a separate, enormously successful language of its own.
Frequently Asked Questions
What Is the Best Way to Install C Programming on Windows in 2026?
The recommended approach in 2026 is to install MSYS2 from its official website, use its package manager to install the mingw-w64-ucrt-x86_64-gcc package, add the MinGW bin directory to your PATH environment variable, and then install Visual Studio Code with the C/C++ extension for editing. This combination gives you a modern, maintained GCC toolchain with an excellent editor that supports IntelliSense, integrated debugging, and an embedded terminal for compilation.
Do I Need to Install Visual Studio to Write C Programs on Windows?
No. Full Visual Studio is not required to install c programming on Windows. While Visual Studio includes the MSVC compiler and is a powerful option, it is a very large download primarily designed for Windows application development. For pure C programming, the combination of MinGW or MSYS2 for the GCC compiler plus Visual Studio Code as the editor is lighter, faster, and equally capable for learning and systems development purposes.
How Do I Know If My C Compiler Is Installed Correctly?
Open a terminal or command prompt and type gcc –version or clang –version depending on which compiler you installed. If the compiler is installed and configured correctly, it will respond with version information including the release number and build date. If you see an error saying the command is not found or not recognized, the compiler binary is not in your PATH variable and you need to add it or reinstall the compiler.
Can I Install C Programming Without Internet Access?
For offline installation on Windows, you can download the MSYS2 installer or a pre-compiled MinGW package in advance and copy it to your machine. On Linux, you can download the build-essential package and its dependencies using apt-get download on a connected machine and transfer the .deb files. On macOS, the Command Line Tools package can be downloaded as a standalone installer from the Apple Developer website without requiring Xcode. Offline setup is more complex but entirely possible for all three platforms.
What Is the Difference Between GCC and Clang for C Beginners?
For beginners learning to install c programming, the practical difference between GCC and Clang is minimal. Both fully support the C standard, both produce highly optimized native code, and both use nearly identical command-line syntax. Clang tends to produce more readable and helpful error messages, which is a genuine advantage for beginners who are still learning to interpret compiler output. GCC has a longer history and is more widely referenced in textbooks and tutorials. Either compiler will serve you excellently throughout your learning journey.
How Do I Compile Multiple C Files Into One Program?
When your project grows beyond a single source file, list all .c files in your GCC command: gcc -Wall -o myprogram main.c file1.c file2.c. GCC compiles each file separately and then links the resulting object files into a single executable. For larger projects with many files, a makefile automates this process, allowing you to type make in the terminal instead of typing a long gcc command. Learning to write a basic makefile is a natural next step once your programs grow beyond two or three source files.
Conclusion
Install c programming correctly and you unlock one of the most powerful and enduring tools in the history of software development. The process is straightforward once you know the steps: choose the right compiler for your platform, configure your PATH so the terminal can find it, set up a capable editor with the right extensions, and verify everything works by compiling and running a real program.
The investment you make in setting up your C environment properly pays dividends across your entire programming career. C’s influence reaches into operating systems, embedded firmware, compilers, databases, network infrastructure, and the design of almost every programming language created in the last fifty years. By choosing to install c programming and learn it seriously, you are connecting yourself to that legacy directly.
The environment is ready. The compiler is installed. The terminal is open. Now write code, compile it, run it, break it, fix it, and learn from every step of the process. The real education in C begins the moment your first program runs successfully and you start asking what you can build next.